Beef Back Ribs

BeefBackRibs

When purchasing a whole or half steer we sometimes get left with cuts that are not on our regular product list – these often end up in our freezer. This has led us to making all sorts of fun things such as ox tail, heart, shanks, back ribs, hangers etc..

Today I’m going to talk about beef back ribs….

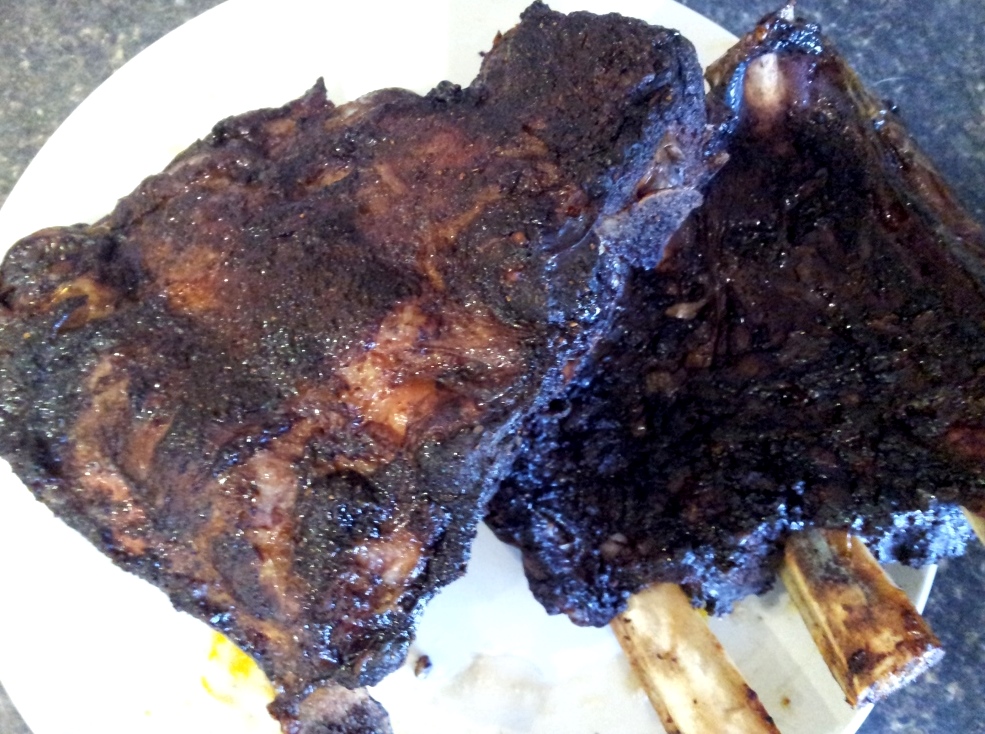
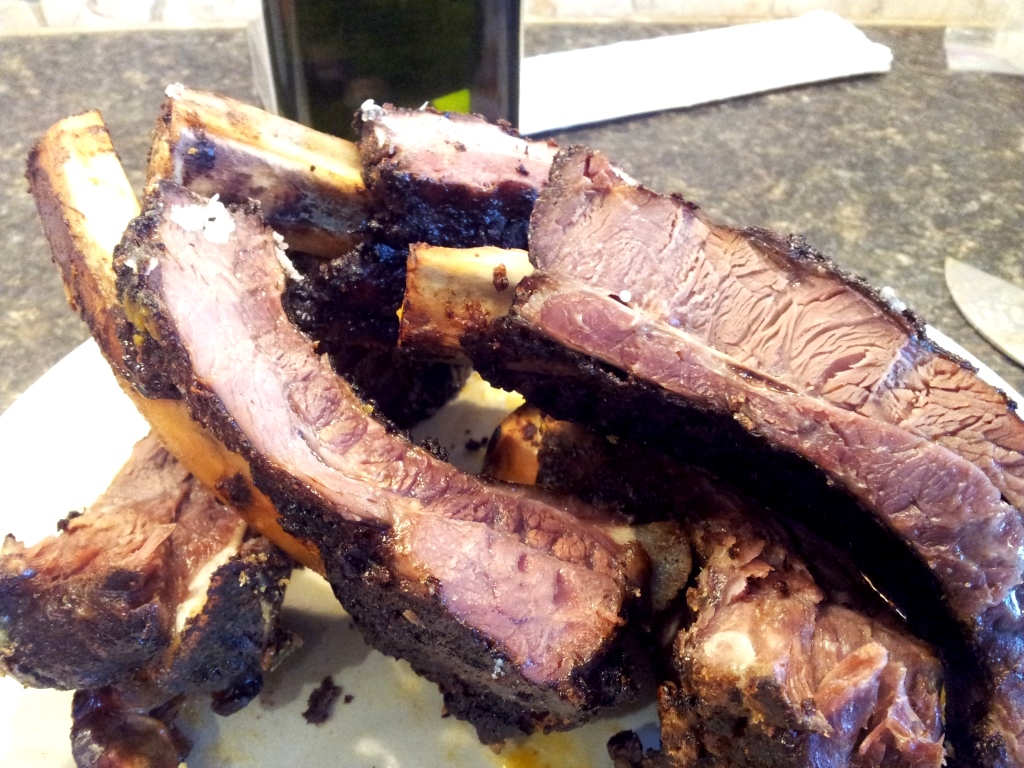
These are the ribs you find on a prime rib roast. When we get lots of orders for ribeye steaks (the inside part of a prime rib roast) we also get the rack of back ribs. Well, we finally got around to trying these and I think I’m addicted!

We prepped and cooked the ribs how we would cook a prime rib roast – as the ribs are my favourite part of the roast anyway we wanted to see if prepping and cooking them this way would simulate the roast experience. Answer…. Yes it most definitely did and they were awesome!!

To prep the oven was preheated to ‘roast’ 425 degrees. Then we cut the ribs in half and applied the rub John makes for beef roasts with a bit of soy sauce.BeefBackRibsPrep

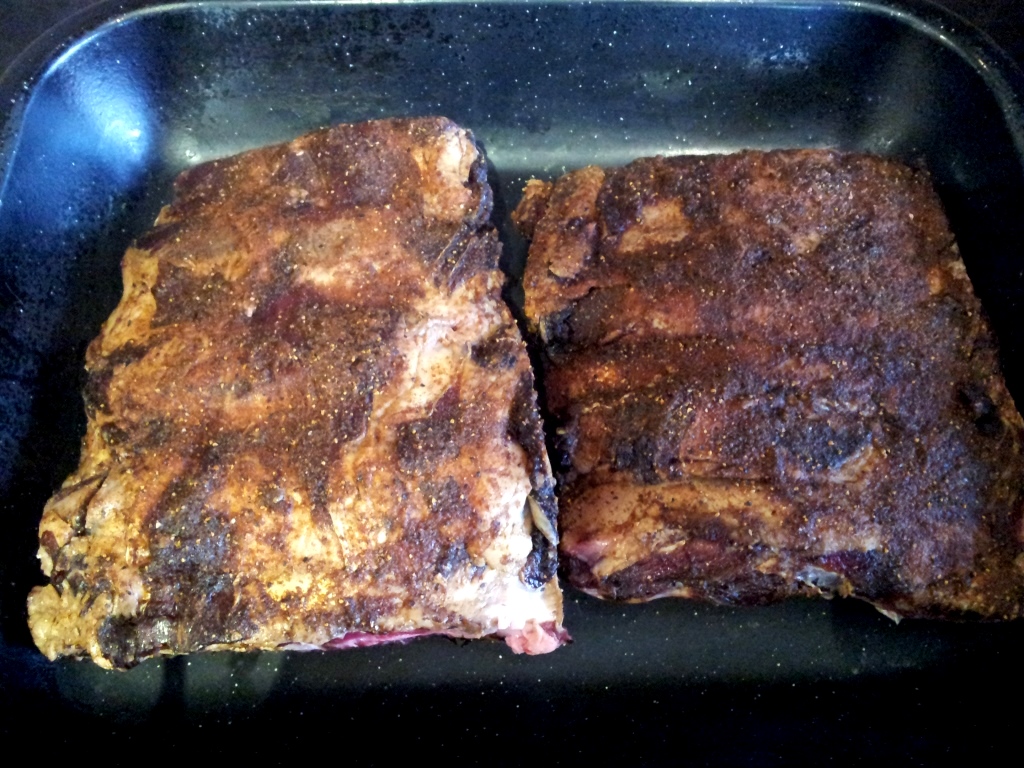
We popped them in the oven to start them off with a good heat blast at 425 for about 10 minutes then turned down the oven to 300 degrees to cook ‘low and slow’ for approximately 1.5 hours or until the meat starts to pull away from the bones. Delish!!BeefBackRibsCooked

Pork Belly Perfected!

Pork BellyBefore I ever had pork belly I used to ask myself ‘Why? Why would you want to eat pork belly?’. I get bacon – naturally smoked strips of pork belly, cooked until deliciously crisp – yummmmm. We’ve had many customers request pork belly so we felt we had to give it a go. The first time we cooked it – low and slow for a long time – it was great. I started to be a believer. In John’s ‘quest for the best’ attitude in cooking he has been tweaking this recipe every time he makes it – yesterday was the 5th or 6th time and let me tell you – he nailed it!! The key to the overwhelming success was the combination of awesome spicing and how he turned the rind into a true crackling top. It actually pops and crackles as it sets. Now let’s not be confused here – this is NOT a post about diet food – we are talking about eating delicious pork and fat – everything in moderation I say – this is a treat not a staple. And what a treat it is!!

Here’s how we do it:

  1. Preheat oven to Roast 450.
  2. Score the rind (top thick layer) of the belly. Make a grid pattern of approx. 1” squares. It is important to use a sharp serrated knife and cut right through the rind until you get to the meat (approx. ½ down). This part is pretty hard to do but makes a big difference in the end result.
  3. Grind up spices – we use a mortar and pestle to grind fennel and coarse sea salt. (2 parts fennel to 1 part salt)
  4. FennelSalt
  5. Put a bit of olive oil all over then rub spices all over – especially into the top of the making sure you get right into the scores you made in step 2. Left over fennel salt is also nice as a finishing salt when serving.
  6. Place belly on rack in roasting pan and pop in oven at Roast 450 for 5-10 minutes until the top is golden coloured.
  7. Turn oven temperature down to 300 and let bake for about 2 ½ hours.
  8. Turn oven on Broil for a few minutes until you see the top skin bubble up and separating. This is the part that makes the amazing crispy top!
  9. Take out of oven and let set for 15+ minutes – slice and serve – Decadent yumminess!

PorkBelly

We keep the fat as we like to use it in other cooking so I always drain it off the pan and keep in the fridge. It is great for roasting veggies!

PorkBellyFat

Stocking up on Stock

StockPile

As I ponder what type of rib-sticking soup or stew to make on this snowy Saturday I must say that I’m glad we went stock crazy last November. We are still well stocked for soups, sauces, braises, gravies, tortiere – ok you get the idea – everything is better with homemade stock.

We start with quality bones from animals that have been naturally raised without the use of drugs or hormones. The next most important step to great stock is to pre-roast the bones for an hour. Roasting caramelizes any meat on the bones which creates an added depth of flavor.

Bones

After we have simmered the bones in water for a couple of hours we throw in celery, onion & carrots and continue to simmer for a few more hours. The aroma that fills the kitchen at this stage is delicious. Note to self… make candles that smell like simmering stock with veggies…ok maybe not.

Broth

Once we’re happy with the taste of the stock the bones and soft veggies are removed. We let it cool completely then scrape any fat off the top. It is then brought up to room temperature so it can be strained through a cheesecloth.

Bag it. Label it. Freeze it and enjoy when needed. I like to freeze mine in different size amounts – some 3C, some 2C and a bunch of 1C portions. Every recipe seems to need different amounts so this allows defrosting of only what you need.

SoupsAndStocks

Soups and Stock – My OCD freezer… makes me very happy 🙂